
Planning Your Home Painting Project for Best Results
DIY home painting begins long before the brush touches the wall. Proper planning is the most important step to ensure a smooth and professional-looking finish. The first decision involves selecting which areas of the home need painting and defining the purpose of the project. Whether it is refreshing old walls, changing interior aesthetics, or improving property value, clarity of purpose helps guide all other choices.
Color selection is a major part of the planning stage. Colors influence mood, lighting perception, and overall room atmosphere. Light shades such as white, beige, and pastels create a spacious and calm environment, while darker tones add depth and sophistication. It is always recommended to test small patches on the wall before finalizing a color, as lighting conditions can significantly change how a shade appears.
Budget planning is also essential. Costs include paint, brushes, rollers, primer, masking tape, and protective sheets. Estimating material requirements in advance prevents unnecessary delays during the project. Additionally, choosing quality materials ensures durability and reduces the need for frequent repainting.
Preparing the space is equally important. Furniture should be moved or covered, and floors must be protected with plastic sheets or old cloths. Proper ventilation should also be ensured, especially when using strong paint or primer, to maintain a safe working environment.
Surface Preparation and Essential Painting Tools
Surface preparation is the foundation of any successful DIY painting project. Even the highest-quality paint will not deliver good results if the wall surface is uneven or dirty. The first step is cleaning the walls to remove dust, grease, and stains. This can be done using mild soap water or specialized wall cleaners.
After cleaning, any cracks, holes, or damaged areas should be repaired using wall putty or filler. Once dried, the surface should be sanded smoothly to create an even texture. This step ensures that paint adheres properly and results in a clean finish without visible imperfections.
Priming the wall is another crucial step. Primer acts as a base coat that improves paint adhesion and enhances color vibrancy. It also helps in covering old stains or darker shades, ensuring a uniform final appearance.
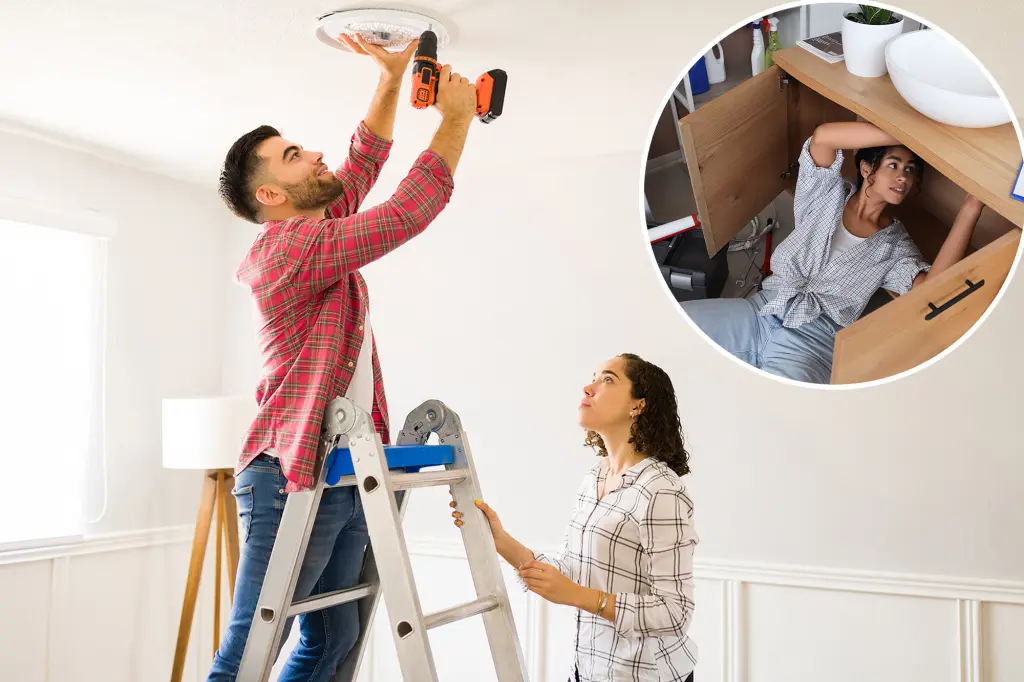
Choosing the right tools is equally important for efficiency and quality. Brushes are ideal for corners and edges, while rollers are used for large flat surfaces. Paint trays, extension poles, masking tape, and drop cloths all contribute to a smoother workflow. Using the correct tools not only saves time but also improves precision and reduces mess.
Painting Techniques for a Smooth and Professional Finish
Applying paint correctly is what transforms a basic DIY job into a professional-looking result. The first step is cutting in, which involves painting the edges and corners using a brush before using a roller on the main surface. This ensures clean lines and avoids overlapping marks.
When using a roller, paint should be applied in a “W” or “M” pattern to distribute it evenly across the wall. This technique prevents streaks and ensures consistent coverage. It is also important not to overload the roller with paint, as excess paint can lead to drips and uneven textures.
Multiple coats may be required depending on the color and surface condition. Light colors over dark walls usually need at least two coats for full coverage. Each coat should be allowed to dry completely before applying the next one to avoid smudging or peeling.
Attention to detail is key during the painting process. Corners, edges, and hard-to-reach areas should be carefully handled to maintain consistency. Taking breaks and working in sections helps maintain quality and reduces fatigue.
Good lighting during painting is also essential. It allows you to see missed spots and uneven areas clearly, ensuring a flawless finish once the project is complete.
Finishing Touches, Maintenance, and Long-Term Care
After the painting is complete, finishing touches bring the entire project together. Masking tape should be carefully removed while the paint is slightly dry to avoid peeling edges. Any minor imperfections can be corrected using a small brush or touch-up paint.
Cleaning tools immediately after use is important for maintaining their quality and reusability. Brushes and rollers should be washed thoroughly with water or appropriate cleaning solutions depending on the type of paint used.
Maintaining painted walls helps preserve their appearance for a longer time. Regular dusting and gentle cleaning prevent dirt buildup. Avoid using harsh chemicals that can damage the paint surface. In high-traffic areas, occasional touch-ups may be required to maintain freshness.
Proper ventilation and humidity control also extend the life of painted walls. Excess moisture can cause peeling or mold growth, especially in bathrooms and kitchens. Using moisture-resistant paint in such areas can help prevent long-term damage.
DIY home painting is not just a cost-saving activity but also a creative way to personalize living spaces. With careful planning, proper preparation, and correct techniques, anyone can achieve professional-quality results without hiring experts.